

Paint finish restoration is a skill for car owners to revive and protect their vehicle's exterior. Beginners should assess paint condition, use sandpaper, primers, and multiple coats of paint for a glossy finish. Gather high-quality tools like sandpaper, filler, heat gun, brushes, gloves, goggles, respirator, and dent puller. Restoring paint professionally requires proper ventilation, setup, and step-by-step process starting with repairs, sanding, priming, painting (2 thin coats), and final buffing. Practice on less visible areas for best results.
Revitalize your space with DIY paint finish restoration in 2025! This beginner’s guide offers essential tips, tools, and techniques for achieving a professional look. From understanding basic principles to selecting the right materials, you’ll master the art of refreshing old finishes. Our step-by-step approach ensures confidence while enhancing your home’s allure. Discover secrets to a flawless, lasting finish—all without breaking the bank. Let’s transform your space together!
- Understanding Paint Finish Restoration Basics
- Tools and Materials for a Successful Project
- Step-by-Step Guide to Achieving a Professional Look
Understanding Paint Finish Restoration Basics

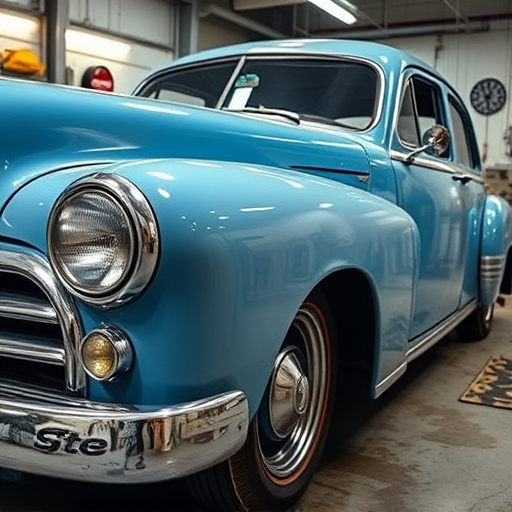
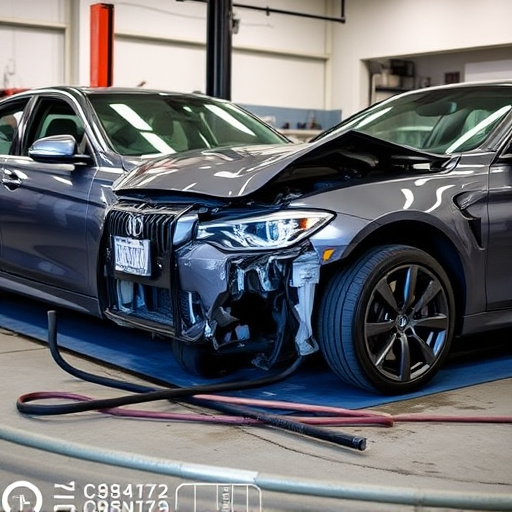
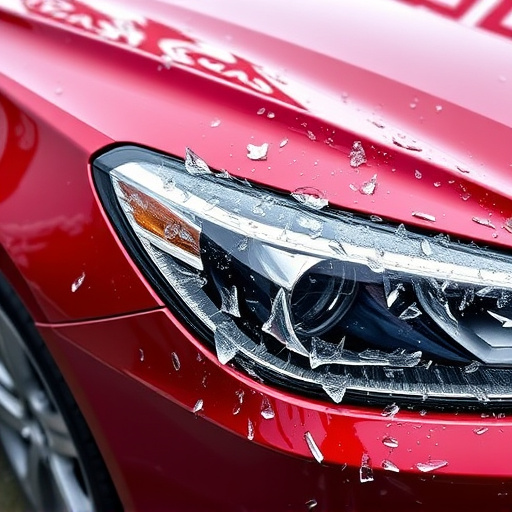
Paint finish restoration is a skill that every car owner should know, especially as vehicles age. It involves repairing and rejuvenating the exterior paint job to restore its original gloss and protect the metal surface beneath. For beginners, understanding the basics is key. The process starts with evaluating the current state of the paint, identifying defects like chips, scratches, or fading, and then selecting the appropriate restoration techniques accordingly.
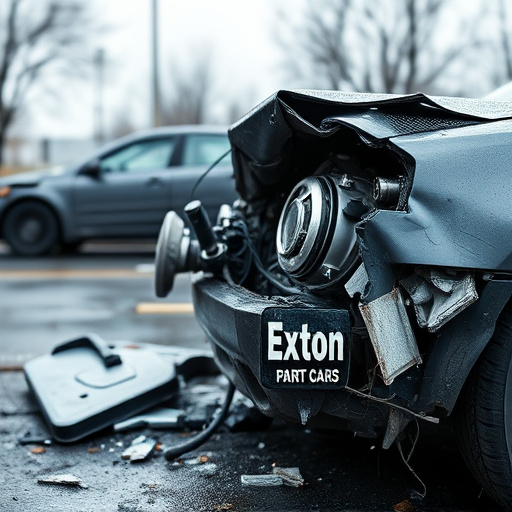
Whether it’s a minor dent or significant damage from a collision (requiring collision repair services), the goal is to achieve a seamless, glossy finish. This can be done through sanding, priming, and multiple coats of paint, ensuring proper preparation and application for long-lasting results. Many collision repair shops offer paint finish restoration as part of their auto maintenance services, catering to both professionals and DIY enthusiasts looking to give their vehicles a new lease of life.
Tools and Materials for a Successful Project
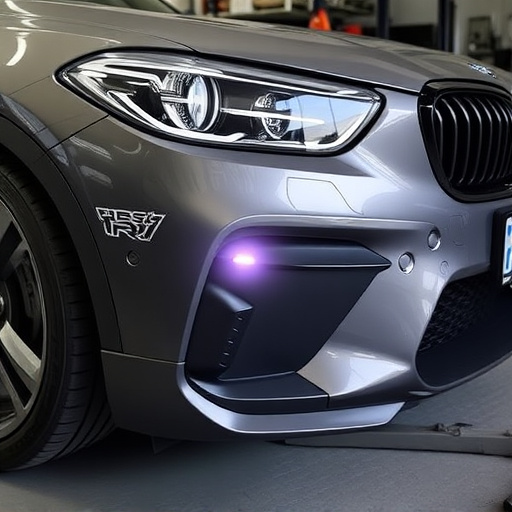
Before starting your paint finish restoration project, ensure you have the right tools and materials to achieve professional results. For a successful DIY endeavor, invest in high-quality items suitable for the task at hand. Basic necessities include various sandpaper grits (from coarse to fine), auto-body filler or putty, a heat gun or hair dryer, and paint brushes tailored for restoration work. Additionally, a set of protective gear, such as gloves, goggles, and a respirator, is essential to keep you safe from harmful chemicals and dust particles.
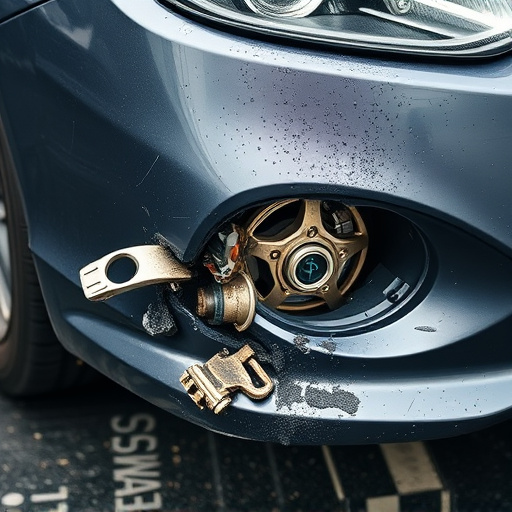
Among the tools, consider using a dent puller for removing dents and dings without leaving traces, just like how an auto glass replacement specialist would handle cracks or chips in vehicle exteriors. These specialized tools can make the process faster and more precise, allowing you to restore your paint finish seamlessly. Remember, having the right resources will not only streamline the project but also contribute to a flawless final outcome, making your efforts worthwhile.
Step-by-Step Guide to Achieving a Professional Look
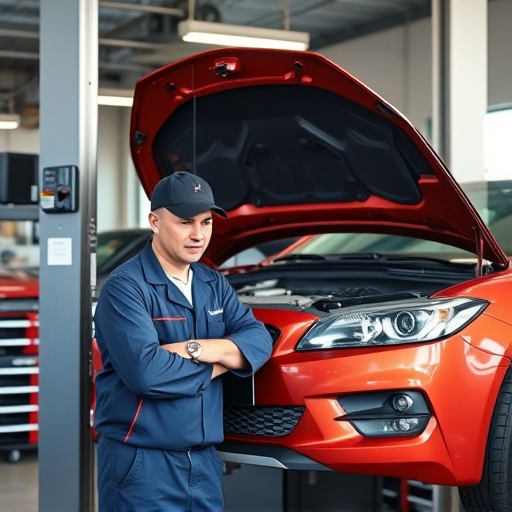
Restoring a paint finish to a professional standard can seem daunting for beginners, but with the right approach and tools, it’s achievable. Here’s your step-by-step guide:
1. Prepare Your Workspace: Start by setting up your workspace in a well-ventilated area, as sanding and painting involve chemical fumes. Cover surfaces with drop cloths or plastic sheeting to protect them from paint splatter. Gather all necessary tools, including sandpaper (starting with coarse grit for heavy scratches and ending with fine grit for light touch-ups), a paint scraper, a detailing brush, and your chosen paint and primer.
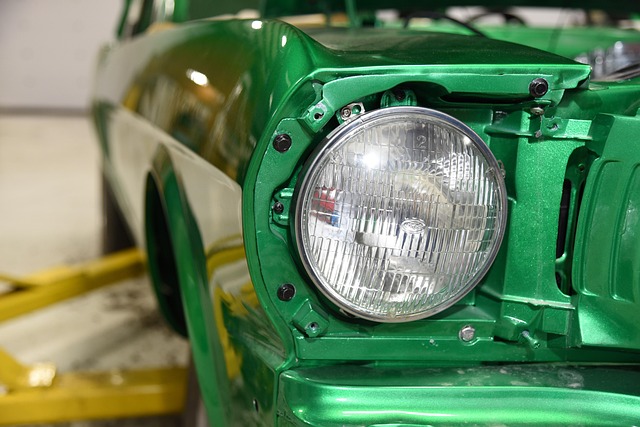
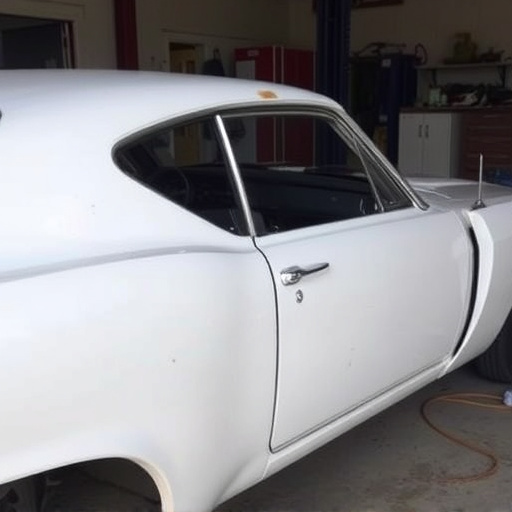
2. Inspect and Repair: Examine the damaged area closely. For minor dents or scratches on a car body (or any surface), use the paint scraper to carefully remove damaged or peeling paint. Fill in depressions with automotive-grade filler, letting it dry completely before sanding. Repeat as needed until the surface is smooth.
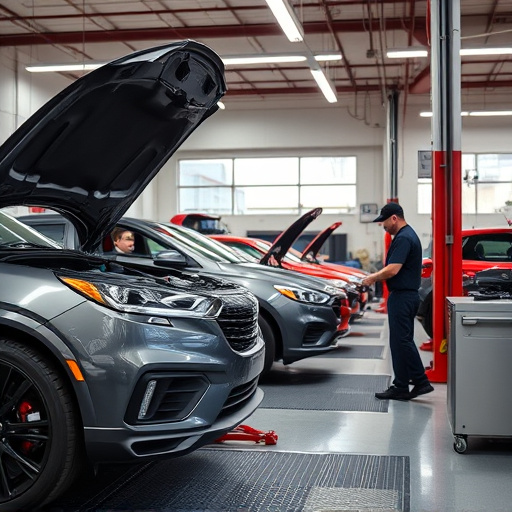
3. Sand and Clean: Begin sanding with coarse grit, working in small sections to avoid missing spots. This step helps to roughen the surface, allowing better paint adhesion. After sanding, use a detailing brush to remove dust and debris. A clean surface is crucial for a professional finish.
4. Prime and Paint: Apply an even coat of primer, letting it dry thoroughly. This layer prepares the surface for paint by providing a smooth base and preventing under-painting from showing through. Once primed, choose your desired color and apply two thin coats of paint, allowing each to dry between applications.
5. Final Touches: After the final coat dries, inspect your work. For minor imperfections, use fine-grit sandpaper to gently buff them out. Clean the area with a microfiber cloth, ensuring no residue remains. The finish should be smooth and even, ready for display or driving. Remember, practice makes perfect, so don’t hesitate to experiment on less visible parts of your project first.
Looking to transform your space with DIY paint finish restoration? By understanding the basics, gathering the right tools and materials, and following a step-by-step guide, you can achieve professional results in 2025. Remember, with patience and practice, even beginners can master the art of restoring paint finishes, adding value and beauty to their homes. So, get ready to roll up your sleeves and embark on your very own paint finish restoration project!